
Friends, if there was anything I obsessed over in making Michael's faux fur coat, it was the front pockets.
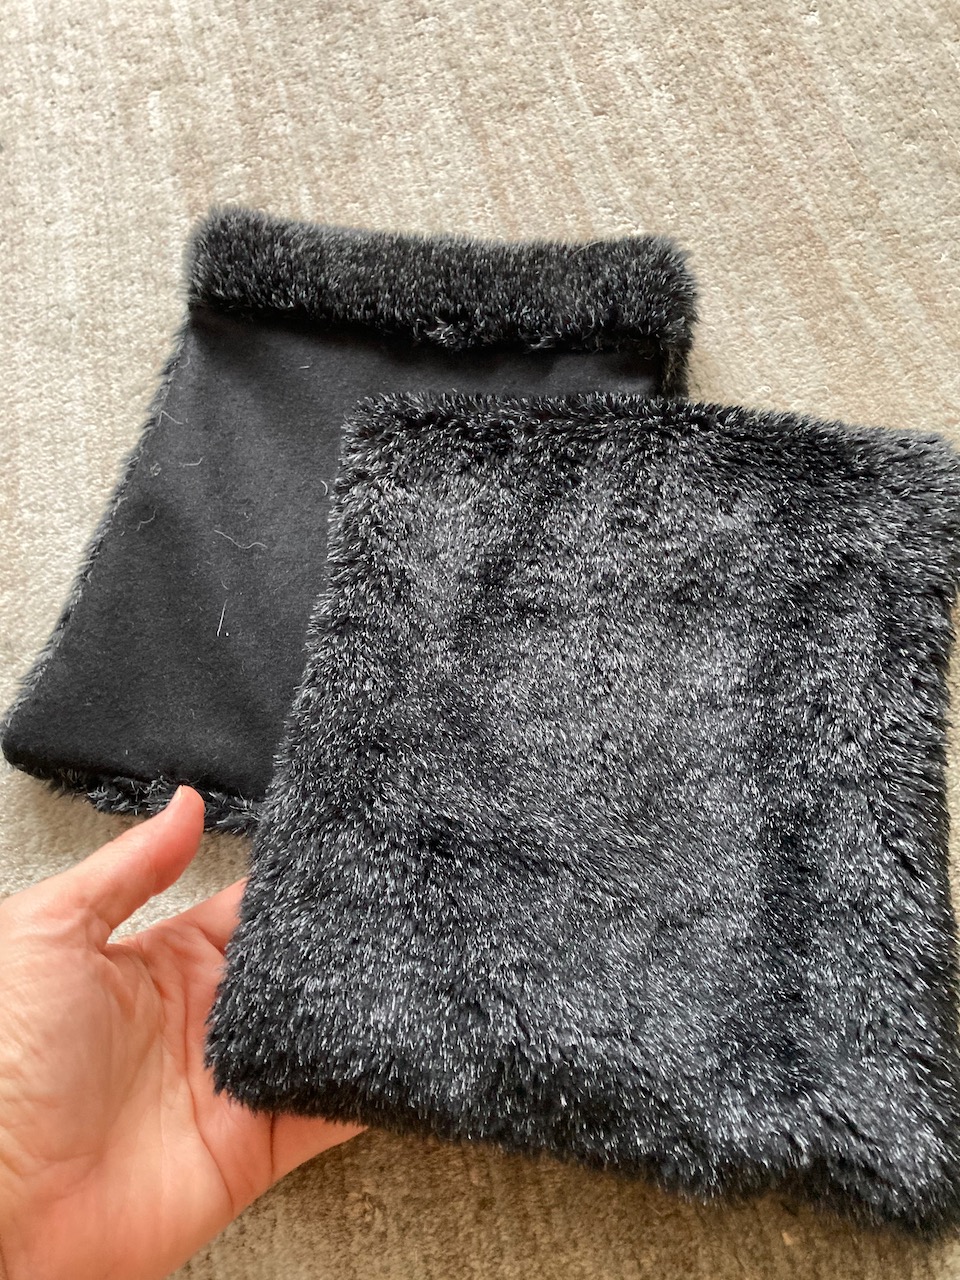
As I mentioned in my last post, originally I had intended to cut diagonal front pockets with interior pocket bags. After cutting the first one, however, I decided I didn't like the way it looked. So I closed up the pocket and opted for patch pockets instead. As you can see in the top pic, each rectangular pocket is lined with sturdy black wool melton to stabilize it. I actually made these pockets twice: the first pair were a little too small so I made bigger ones. Each measures roughly 8" x 9".
But before I attached them I did a little online research to see if patch pockets on a faux fur coat were a thing. The answer is yes, from high-end designers to low-end Made-in-China-and-sold-on-Amazon. I'll let you decide which coat falls into which category. As you can see, faux fur patch pockets have a tendency to look bulky and/or droopy.


To attach my patch pockets, first I pinned them into position with long pins, then I basted them in place, then I hand-stitched them along the edge and I reinforced the hand stitching with my sewing machine, trying to catch just a bit of the wool lining edge rather than the fur itself. Even with all that effort, the pockets gave me trouble and I ended up having to completely remove one and reattach it. What makes attaching them challenging are those multiple layers of faux fur you're sewing through (whether by hand or by machine). It's hard to see what you're doing, especially with such dark fur, and since the fur is mounted on a knit, you have to be careful not to stretch the fur as you sew it. I think the pockets look pretty good and I hope they don't stretch over time; the wool backing should discourage that, plus they're mainly for show anyway.


If I were to start this project again from scratch (Don't make me!), I might do the slit pockets again but add a welt to give the slit more oomph. My fear at the time was they'd look too bulky, but they couldn't look any bulkier than the patch pockets.
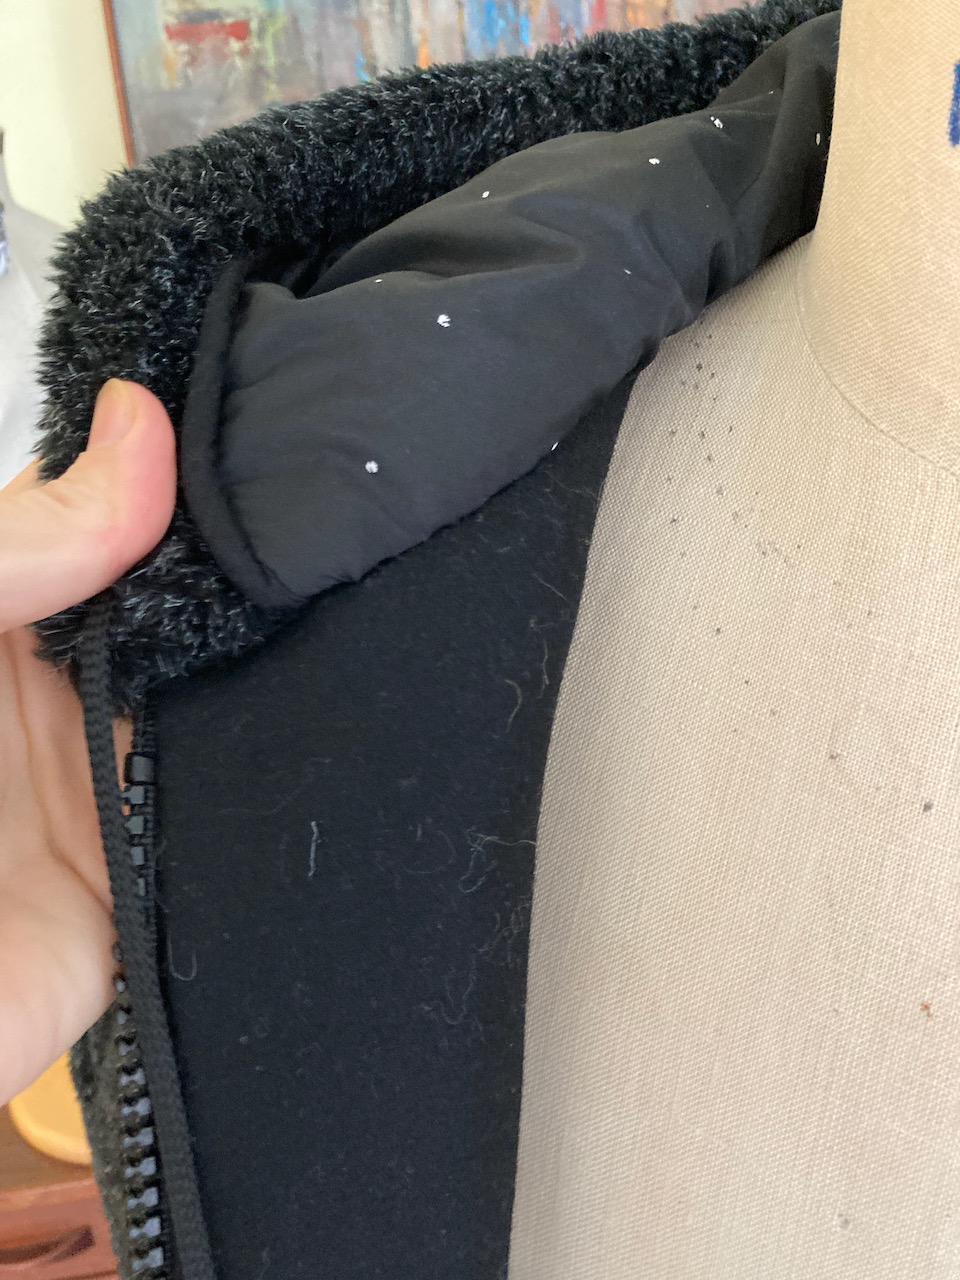
Anyway, the pockets were really the only part of this coat I struggled with--everything else was straightforward if labor-intensive. The hood has a roughly 1.5" fur border on the inside (i.e., the lining doesn't come to the edge); the border gives the hood more heft--it's like a hood hem). As you can see below, the fur meets the wool facing at the top of the zipper. Does that look weird? It did to me at first but now I'm fine with it. It's one of those things that nobody who doesn't sew would ever notice.
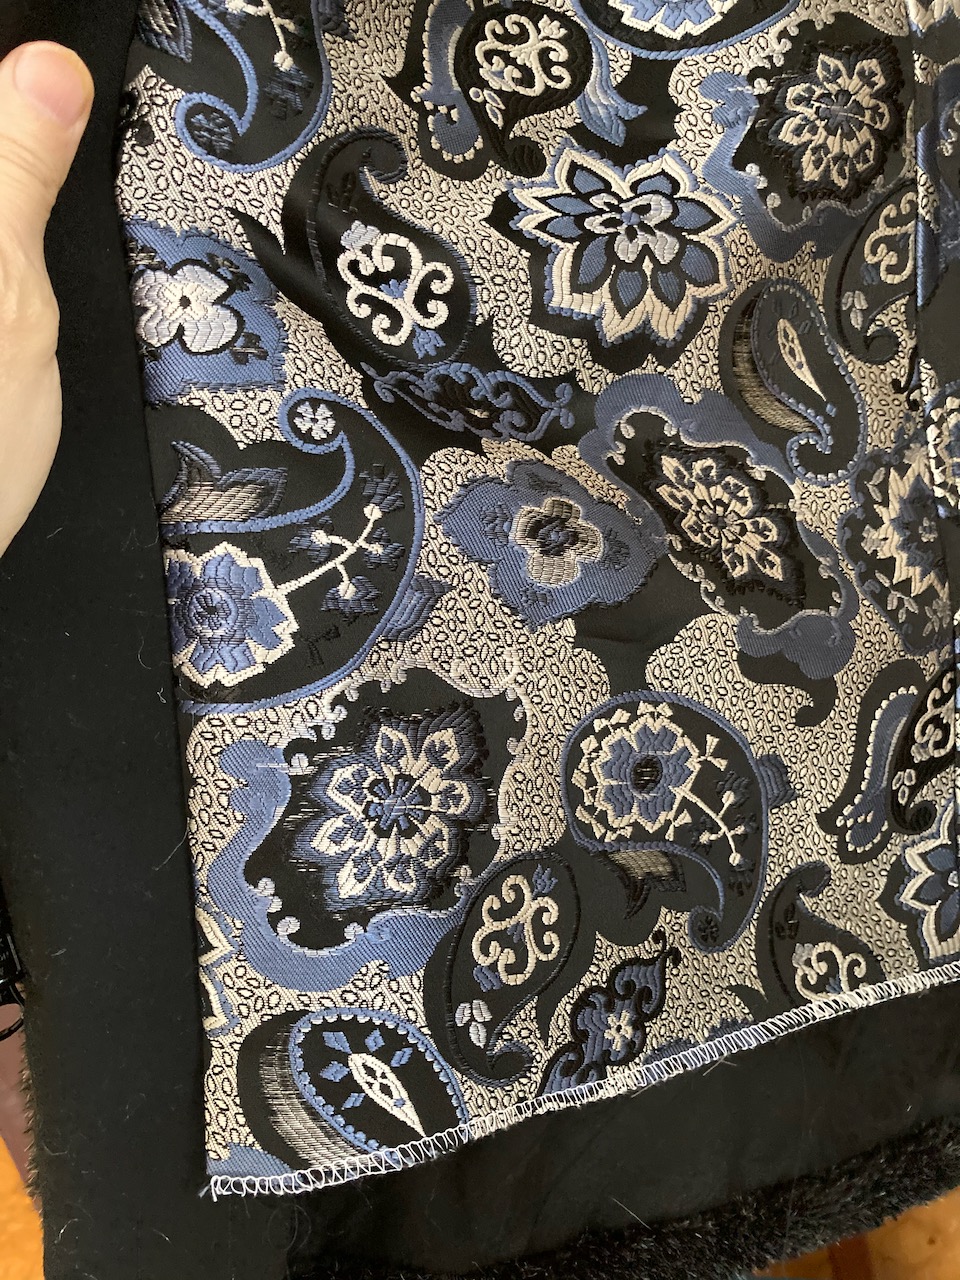
Here's the coat inside out. It would have made an incredible reversible coat, in retrospect.

I decided to make the coat about 2" longer than I'd originally intended: it looked more luxurious longer when Michael tried it on. As a result, the lining doesn't come all the way to the edge of the fur hem. Instead, it will attach to a roughly 2.5" wide black bias facing I added to the bottom edge of the fur and then catch-stitched into place. I would have added that facing even if the lining had been longer: it's a technique I learned from Kenneth King. It is apparently used in real fur coats so you don't have to stitch the lining directly to the fur, but instead you stitch the lining to catch-stitched bias. The benefit of my somewhat narrower fur hem is that it isn't as bulky as a 3" hem of turned-up fur would be.
So right now the lining hangs loose (I will probably serge over the edge with black thread instead of leaving the white thread, though it's basically okay as-is). After I'm sure I'm not going to want to fiddle with those patch pockets again, I'll stitch the lining down to the hem facing.
The
sleeve lining is attached at the hem in the same way as the torso lining: a
2.5" wide bias strip is sewn onto the hem and then catch-stitched to the wrong side of the fur, and the lining is whip-stitched (or slip-stitched) to the bias
strip.

Here's how the coat looks almost finished; I'm happy with it.

And that's it! I am happy to be nearly done--it was more work than I'd originally expected. That said, Michael loves it and we'll be taking some photos of him in it later today so stay tuned.
Have a great day, everybody, and happy sewing!


Gosh, I really, really like it. I thought it would look, you know, home made, but it doesn't. It looks professionally sewn, which it is, of course. Well done, you!
ReplyDeleteLooking good. If the pockets start drooping why not make them out of the lining fabric and have an additional contrast? I once made a riding coat out of heavy duty alpaca fabric and even those pockets were a bit heavy.
ReplyDeletei know from very limited experience how hard faux fur is to sew, and i wasn't even trying to make anything NEARLY as complicated as a coat -- this looks AMAZING, as always. very cozy, and i love the inner lining fabric!
ReplyDeleteFabulous!
ReplyDeleteThe coat looks good, and the pockets give the front a bit of interest. I wonder if it would be too plain with welt pockets? Anyway... if those pockets had been too bulky looking, would it work to shave the seam allowances and then sew on the pocket? Perhaps shaving either the pocket seam allowance or the area on jacket front where the pocket would fit might be enough? Or pipe the pocket edges instead of turning under? Pondering, because I have some fake fur that I should use or move on to thrift.
ReplyDeleteThe piping idea is excellent: maybe next time!
DeleteWhat a lovely coat! I'm sure Michael will look terrific wearing it, and enjoy many years of use from it, its so well made! Great job! Deb E / CA
ReplyDeleteYou continue to outdo yourself with unusual fabric and precise attention to detail.
ReplyDeleteAnother perfect garment, very nice!
ReplyDeleteTHOSE toggles!
ReplyDeleteYou could consider inseam pockets at the sides ... that was the solution for the rtw fake-fur coat from Sears & Roebuck that I wore as a preteen. Pockets were of lining fabric, hung inside the coat lining. Fur was dominant enough to roll over the pocket openings so they did not show from the outside.
ReplyDeleteInseam pockets would have been my preference but on this pattern they seemed too far back for comfort: I tried it on Michael's original muslin. In retrospect I might have redrafted the pattern to bring them forward.
DeleteTo make sewing the patch pockets to the jacket a little easier, you could have used some fusible interfacing on the wrong side to keep the bodice from stretching. Also, real fur jackets have basically a slit in the fur as a pocket opening and the pocket bags are sewn to the slit openings with a fur machine. When done properly, the pocket openings are nearly invisible.
ReplyDelete