

Readers, my flight suit project has been extremely enjoyable but it has not been without its challenges.
As I told you in my last post, I decided to make this on a whim -- I was inspired by someone I saw at the Chelsea Flea Market who looked terrific in a similar style. I chose to make it in a stretch cotton twill (horizontal stretch only, i.e. along the weft). If you ever decide to make this pattern, I recommend not choosing a stretch fabric: seams along the stretch (horizontal seams in this case) tend to end up wavy unless you're very careful.
I addressed this in two ways: most of the pockets I added were cut from a non-stretch orange cotton twill so they were completely stable. For the waistline seam -- which I had to add so I could have front slant pockets -- I added a strip of my selvage to the seam so it would not stretch. You could also use pre-shrunk twill tape or a strip of any lightweight non-stretch fabric.
Additionally, I found my Bernina walking foot to be very helpful.

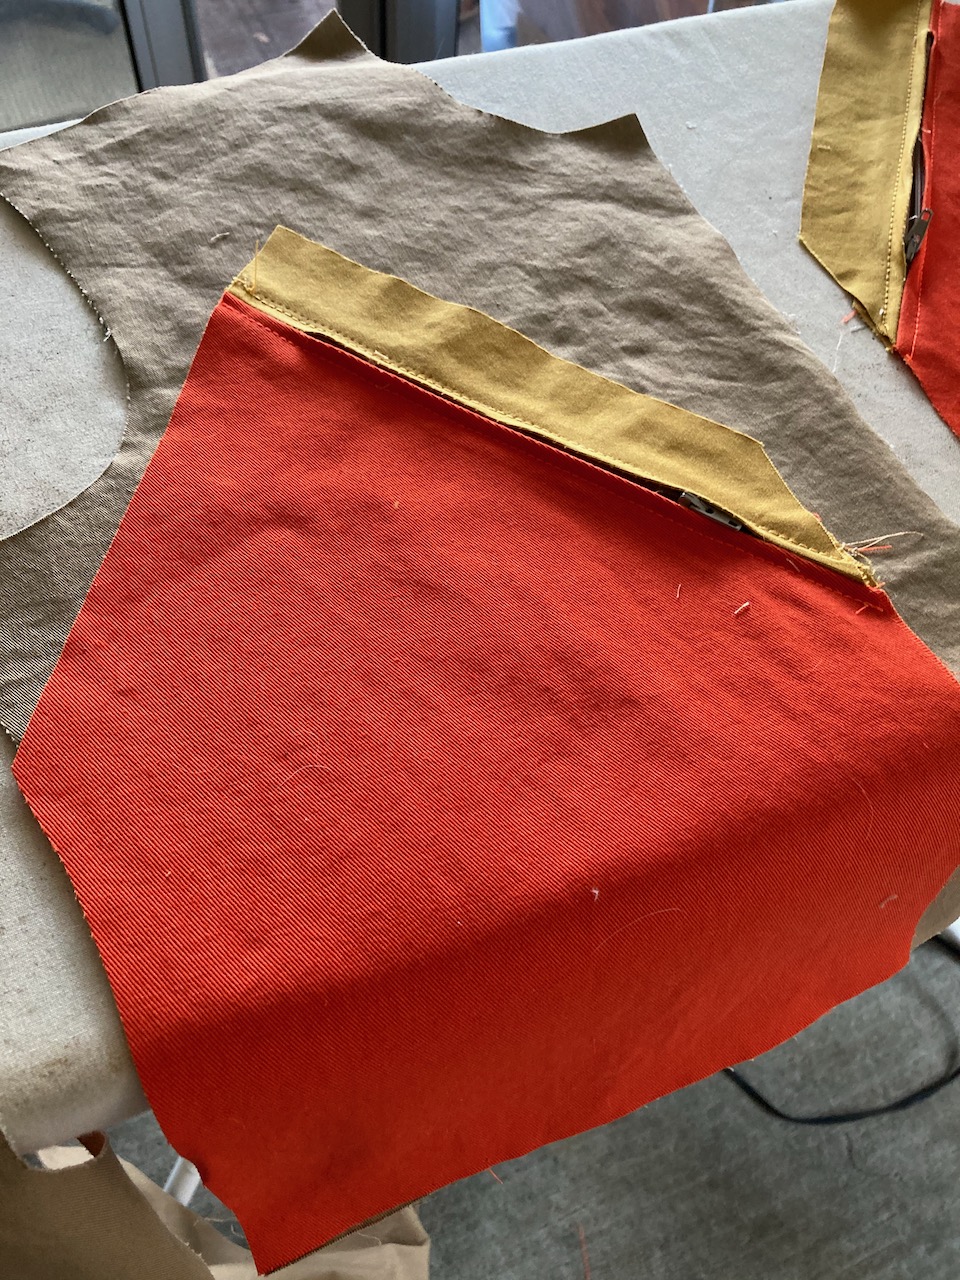
I had originally planned to add other colors to this flight suit and I originally cut the big zippered front pocket in orange and mustard (using a cotton remnant I had in my stash). In the end I thought it looked too much like a plunging V neckline (not to mention a Burger King uniform) so I decided to re-cut it in my stretch tan twill instead. To stabilize the twill, I underlined the pocket in a lighter-colored non-stretch twill I had in my stash.

I decided I really needed pants pockets I could keep my hands in. I used a pocket pattern piece from an old Simplicity pattern I had on hand. I cut the pocket bags from that same light tan, non-stretch twill.


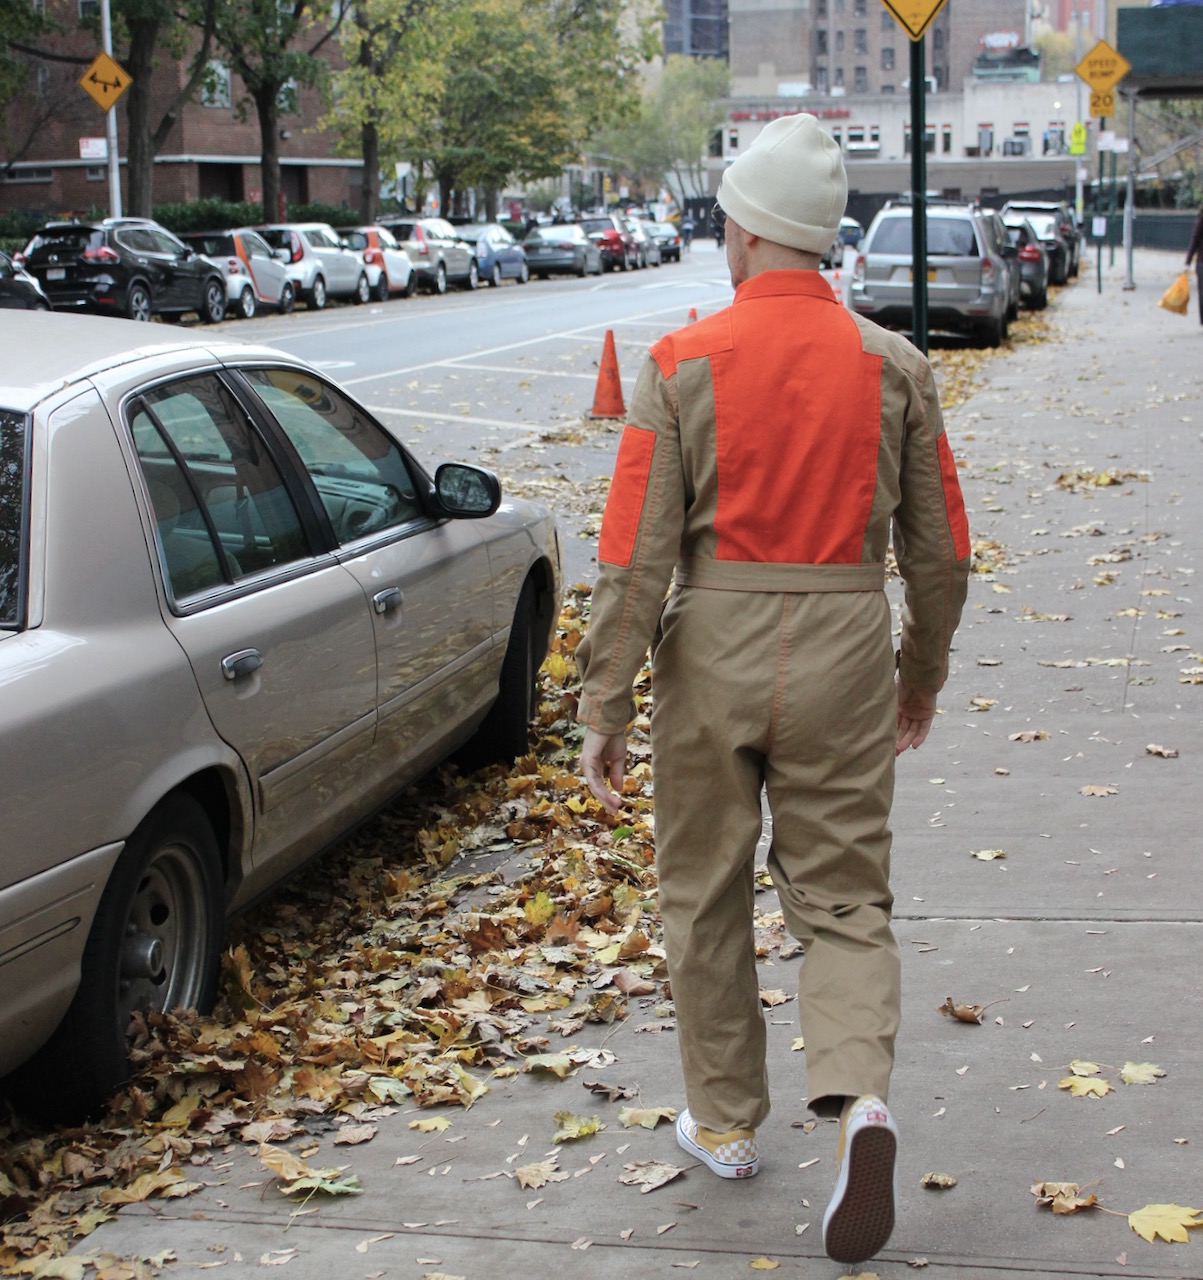
I included a lot of the many special details the pattern includes, like the sleeve armhole grommets and Velcro tabs at the cuffs.

After laundering, the twill had a wonderful weathered look--I decided not to iron it except for a few touch-ups at the collar and cuffs.

Overall, McCall's 2054 is excellent. It seems to have been reviewed only once on Pattern Review, and a Google search yields only a few photos, which surprises me. The pattern, released in 2016, is part of the McCall's Cosplay line but there's really nothing costume-y about this pattern beyond the styling on the pattern envelope. It's a pretty authentic-looking flight suit.
Here's an authentic flight suit:

I actually have no idea who this character is supposed to be so maybe you can enlighten me. The pattern envelope says "Resistance." Proud Boys? Antifa?

I made a few changes to the original design. As I mentioned, I added front slant pockets, which required adding a front waist seam. It's barely visible since it's mainly covered by the belt, but in the original, the front torso and leg are cut as one, which requires bigger pieces of fabric, so adding a waist seam can also be more practical. (BTW, this pattern requires about 4 yards of fabric if you add all the pockets.)


The pattern calls for an exterior back waist casing for the belt. I added it but it looked bulky and bunchy so I removed it. As it turns out the belt hardly shifts so the casing is unnecessary.


After I had already added a patch pocket to both sleeves, I realized that the instructions only called for one. I thought about removing the second one but in the end, I decided I liked having both. I also skipped the pants patch pockets--I believe the pattern has four. Too much bulk on the leg for me, plus I would never really use them. I added only one front torso pocket instead of two (I didn't want this to be totally symmetrical).
I also skipped the gusset at the ankle. It's an authentic detail but I wouldn't use it and once I added it, I wouldn't be able to change the length of the pants, which, it turns out, was an issue.
Here's the challenge with a flight suit or jumpsuit: once it's cut, it's hard to adjust the fit. This is why I made a muslin. You have to decide if this is a garment you intend to wear over regular clothes or just by itself. If you're going to wear this like coveralls, it's going to need to be baggier.
One more thing. I pre-shrank my cotton twill just as I always do. But it still shrank when I washed and dried the flight suit. In fact, I lost 2" of length on the leg. Luckily I had the 2" to spare but only just. And after trying on the flight suit with a variety of different shoes and sneakers, and not being certain how I might want to wear it in the future, I decided to add a 5 1/2" extension to the leg. That's right: five and a half inches! I have never done this before but I am so glad I did. I no longer have to worry about the length continuing to shrink, and it might.
Here's a quick shot of how it looked originally. The length may look fine to you -- it did to me initially -- but I have NO extra length here, not an inch; the hem is unfinished. I felt like this garment needs more weight at the hem, visually as well as--I can't think of the word, but it needs a more substantial hem.
Here's the leg with the new extension.


That extra length gives me so many more options: I can now tuck the pants in a boot, cuff it, or even leave it long and baggy at the ankle. And if I lose another inch in the dryer it's no big deal.

I hope never to make this mistake again. I usually like my pants to be a bit on the short side but it just doesn't work for this garment.
Of course, on a woman -- particularly a young woman -- a very cropped pant can look cute and hip.

But not on me.
And that's it -- more pics of the finished garment to come!
Happy sewing, everybody!
 |
| You can see how, before laundering, this looked long enough in the leg (I had shortened the original leg piece by a good 4" and the sleeve by 2"). |


this looks so good. i love your solution for the pant cuffs. brilliant!
ReplyDeleteresistance = star wars! though that does not really explain the eyeliner on the model...
ReplyDeleteYES. Eyeliner optional I'm sure. Also a better reference than Ghostbusters (the reboot uses safety orange trim).
Deletelooks great, pattern has great detailing and you are so right that it doesnt look costumey - only styled that way - I think the detailing in the seams in shoulders etc puts it beyond that as its so classic looking -, your top stitching is so perfect as are colours! well wear
ReplyDeleteYour top stitching is, as always, perfect. #goals
ReplyDeleteThe "gravity" of the cuffs works. A long extension was the save-of-the-day.
ReplyDeleteThe gun toting model appears to be sporting thin shoulder pads, consider slipping one in and seeing if you don't like the horizontal expanse they create.
As for the "Burger Kind uniform" comment - still laughing. Perhaps when we socially conglomerate again, there will be parties of people in various fast food uniforms of yore (perhaps a themed MPB day option).
Burger King was my first paying job!
DeleteOn the cuffs, would a tiny turn-under and then orange stitching at the very edge and again a couple of inches up (as if holding down more fabric) give enough balance to the orange up top? It's a very impressive effort nonetheless.
ReplyDeleteLove the orange thread on the top stitching. Very nice!
ReplyDeleteLooks great - and thank you for sharing the changes you needed to make - it works well for you!
ReplyDelete